
Installation Guidelines
These are general installation instructions to be used as a guideline. Some vehicles may have more specific instructions and those will be included in your order. Refer to your shop manual for the year and model of your car for instruction on disassembling the dashboard and removing the gauge cluster or individual gauges. If you do not have one, detailed manuals are available. We recommend AllDataDIY.Please Read First The following procedure is offered only as a general guide to the proper use and installation of replacement gauge faces. No warranties, express or implied, are offered as to the suitability of following procedure as concerns any specific vehicle or any vehicle in general, nor to the suitability of the product purchased for any use. The dash instruments in your car are fragile and can be easily damaged if mishandled, or may fail to ready correctly if not properly reassembled. We strongly suggest you take your gauges or gauge cluster and your new custom gauge faces to a qualified speedometer service shop for installation. Black Cat Custom Automotive will not be responsible for damage caused by the installation of the new gauge faces or any direct or incidental damages caused by their use, including but not limited to, personal injury or damage to property. Check your local laws concerning the modification of the instruments in your car before proceeding, as well as your vehicle manufacturers warranty. As with any modification, only the owner can make the final determination whether their vehicle is safe to drive. A decision by the purchaser to keep and install the replacement gauge face will be deemed as acceptance of these conditions by the purchaser, installer and any users of this product, as well as acceptance of all responsibility for any consequences related to the use of any and all products purchased from Black Cat Custom.
Before starting, it is best if the car is completely cold and the gas tank is completely full so that you can be sure of the proper reading for the gauges when they are re-installed. It is also a good idea to “pre-calibrate” your speedometer before starting the job, in case a problem occurs during installation. For manual transmission vehicles, this can be done by checking and recording the speedometer reading at a specific engine RPM in 2nd or 3rd gear. Auto trans vehicles will need to be driven to highway speed and light throttle to be sure the TCC clutch is engaged. This information can then be used to check the speedometer before final installation and re-assembly of the dashboard.
Refer to a shop manual for the year and model of your car for instruction on disassembling the dash board and removing the gauge cluster or individual gauges. Once the gauges have been removed from the dash, follow this installation procedure. Wash your hands and try to keep them clean when handling the new gauge face. Dirt or grime can be cleaned off the gauge face with a damp cloth and soapy water. Wipe gently, do not scrub. Dirt that is not cleaned off the gauge face may be visible after assembly. Also, dirt and debris can affect the function of the gauges, so keep things clean. Remove the clear facing of the cluster by releasing the clips along the perimeter. Once again, handle this piece carefully as the clear surface is easily scratched.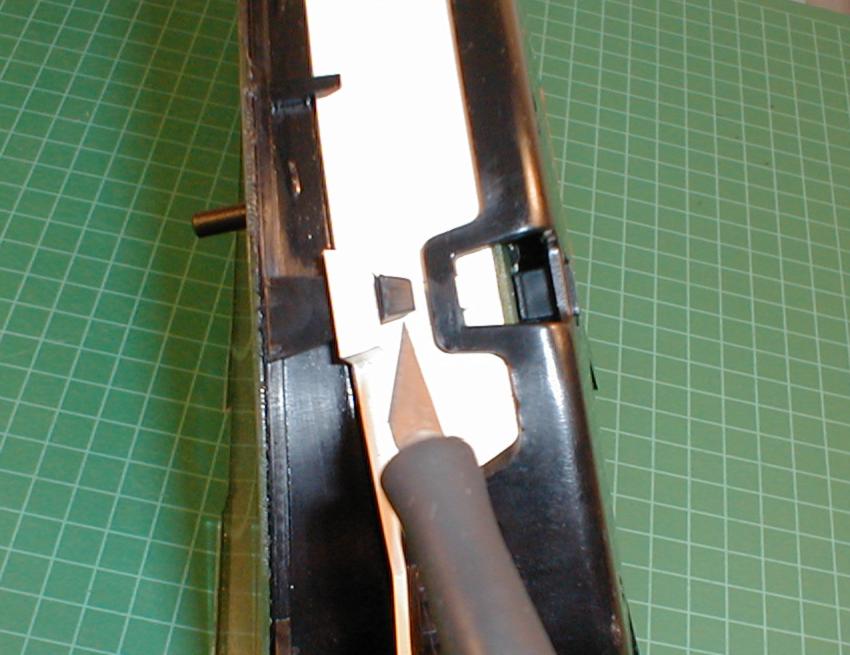
Plug the opened cluster back into the dash. With the ignition key in the “run” position, but the engine off, carefully mark the location if the gauge pointers. You need to place your locating marks along the edge of the cluster body or some other location that can be referred to after the original gauge face is removed.To remove the pointers, insert a pair of flat tools under the base of the pointer from opposite directions. Two flat blade screwdrivers, butter knives or Popsicle sticks will all work. To release the pointer, gently twist the tools simultaneously to apply equal pressure to both sides of the back of the pointer. It’s important to apply pressure equally to avoid bending the stem of the gauge. The pointer should slide loose with very little pressure. DO NOT FORCE IT! If it does not immediately come loose, use a hot air source to thoroughly heat the base of the pointer, which should loosen the grip. Do not apply too much heat or the pointer could melt!
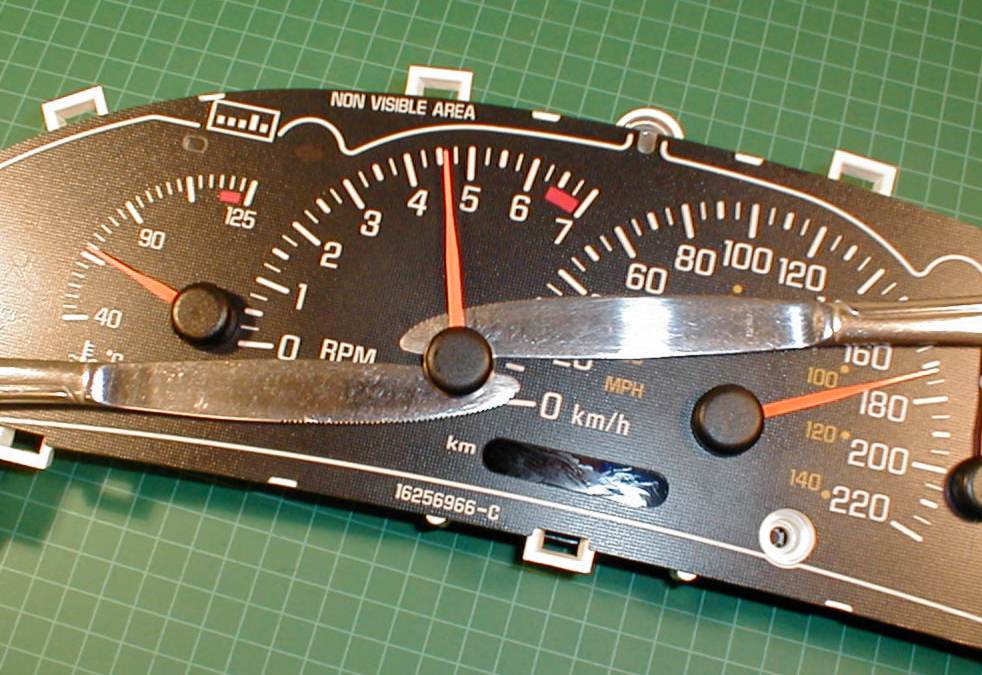
With the needles removed, the original face sheet can be peeled off. It may be necessary to heat the face to soften the adhesive. A knife can also be used to separate the sheet from the adhesive. Make sure that the adhesive remaining on the cluster is even and free of lumps. The new gauge face can now be applied to the cluster. Do not attempt to remove the white backing from the gauge face! This is permanently attached and trying to remove it will damage the gauge face. Apply the new face to the cluster and make sure that it is well adhered to the and free of bumps or air pockets that could expand in hot weather. If additional adhesive is required, common “rubber glue” or clear silicone work well. Apply as thin a layer as possible on the back of the gauge face if you are using glue. Before replacing the pointers, plug the cluster back into the dash. Turn the ignition key to the “run” position, but don’t start the vehicle. With the ignition on, replace the pointers with the tach, speedo and temp needles pointing to “zero”. The other needles should be replaced in the same position as before they were originally removed. Refer to the marks you made before removing the pointers. With the pointers replaced, start the vehicle and take it for a short test drive to be sure everything is working properly and the gauges are accurate. If you have access to real time automotive diagnostic equipment, this is a good tool for verifying the accuracy of your instruments.When everything checks out ok, follow your shop manual’s instructions for re-assembly of the cluster and dashboard.